Apple to Introduce Touch Pad Remotes

Apple will soon bring a much-needed update to the Apple TV device to the market, introducing touch pad remote controls for the device. The new Apple TV remote will improve convenience and functionality, and bring the Apple TV’s remote controls in line with other company products.

The Apple TV is a micro-console and digital media device that allows users to stream content from various sources to their television. Using the Apple TV, users can watch content from Netflix, Hulu, YouTube and a variety of other sources. The Apple TV first hit the market in 2007.

The Apple TV’s current remote has a very simplistic push-button remote. The new remote, which will be released in the summer months of 2015, will use a touch pad and two buttons. The new design will make the Apple TV remote more like other Apple devices and will also make the device easier to use.

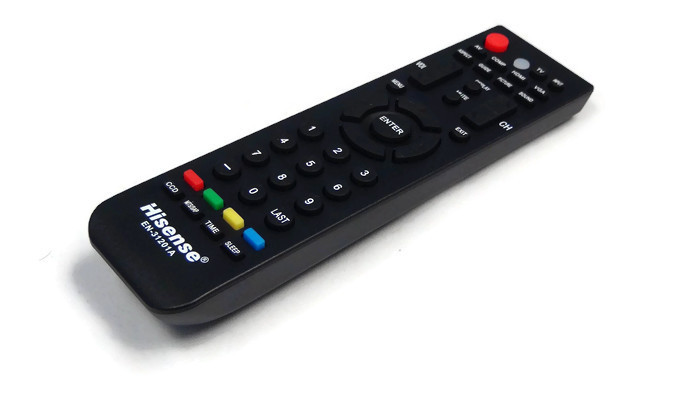
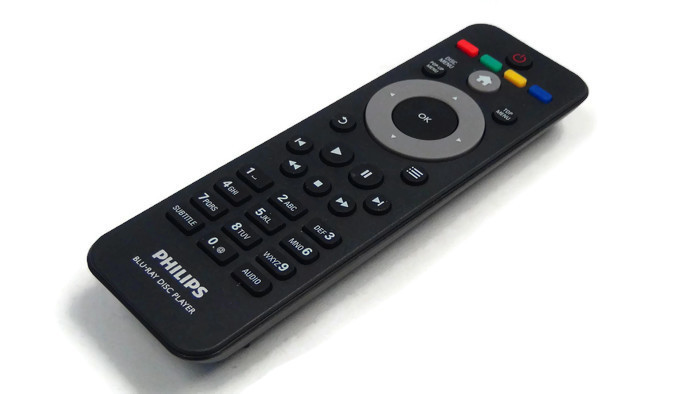
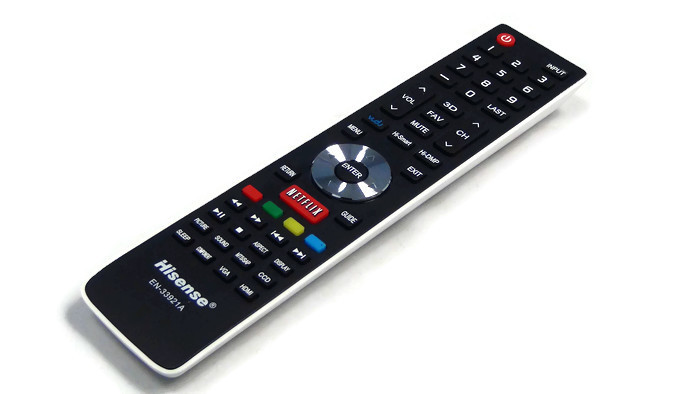
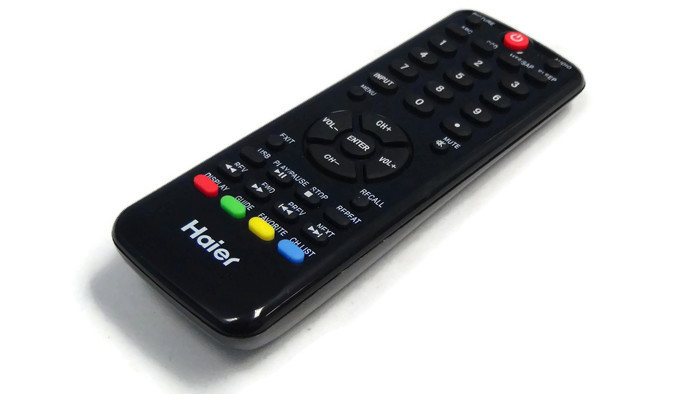
It is almost inevitable that universal remote manufacturers will follow suit and release new universal remotes with the touch pad design. There are currently several third-party universal TV remotes for the Apple TV. These remotes are easy to set up, as the process for linking third-party remote to an Apple TV is fairly straightforward.

Replacementremotes.com sells new and refurbished remote control devices for a wide variety of electronic devices. In addition to remotes, the company also provides TV stands, accessories, replacement product manuals, lights, and much more. The company also operates a repair service for certain devices. To learn more, contact 1-877-671-7173.
What to Look For in a Flat Screen Television Mount

Other than the features you want in your flat screen television mount, the two most important things to look for are the weight and bolt pattern of your television. Wall mounts are built to hold a specific amount of weight, so it’s important to get one that will hold your television so you aren’t enjoying the day with your TV remote in hand … and suddenly your TV falls off the wall. Look at the back of your television to find the bolt pattern. If you don’t know the weight, check on the manufacturer’s website to learn the specifics about your flat screen television.

Hardware

One of the most important aspects of a television mount is the hardware that comes with it. Only use mounts that include lag bolts. A lag bolt will secure the mount to the wall so you don’t have to worry about it falling off or damaging your wall with the weight.

Features

What kind of features are you looking for?

  • Tilt: Not all mounts allow the television to tilt, but if your television is going to be mounted at higher than eye level, this is going to be an important feature.
  • Swivel: Especially important when you have furniture that doesn’t sit directly in front of the television, the swivel feature allows the TV to be aimed at different areas of the room.
  • Level adjustment: A quality mount will allow for level adjustment so you can adjust the mount rather than having to reposition it on the wall. This is especially important when you have parallel lines above or below the TV because a mount that isn’t level is going to create an unequal gap between those lines and the TV.

From usability to stability, make sure your television mount has the strength and features you want, so you can simply sit back with one of your remotes and enjoy your shows without worry.

How to Install Ceiling Fan Remotes

How many times have you pulled the chain on your ceiling fan a little too hard? It ends up snapping back up into the blades, which can be very dangerous. Other than that, just about everything else in your house is run by remote controls, so why not your ceiling fan? Installing a remote in a ceiling fan is easier than you think.

Safety First

Shut off the breaker going to the ceiling fan before you do anything else. You’re going to be working with the wires, so you need to make sure there isn’t any power going to them.

Install the Receiver

You might have to get creative about where the receiver is placed. Remove the screws securing the fan to the ceiling and lower it down so you can see inside of it. Once you find a place where the receiver can snugly fit, you’ll need to connect the wires.

  1. Locate the “hot” and neutral wires going to the fan.
  2. Unhook them and connect them to the “AC-in” spot on the receiver.
  3. Connect the 3 wires on the receiver to the fan.

Adjust the Remote

Once the receiver is installed, you’ll need to set the frequency of the remote. Simply change the frequency using the buttons on the remote until they match the frequency of the receiver in the ceiling fan. In some cases, remotes can reach areas you don’t necessarily want them to, so if you are installing more than one remote in the house, make sure that they each have a different frequency so you aren’t accidentally operating all of them at once.